Test Cases
Test cases form the core of SuuprTests. A Test Case represents a single, complete user flow through your Flutter application that you want to verify—such as a "Login Flow", "Onboarding Sequence", or "Add Item to Cart".
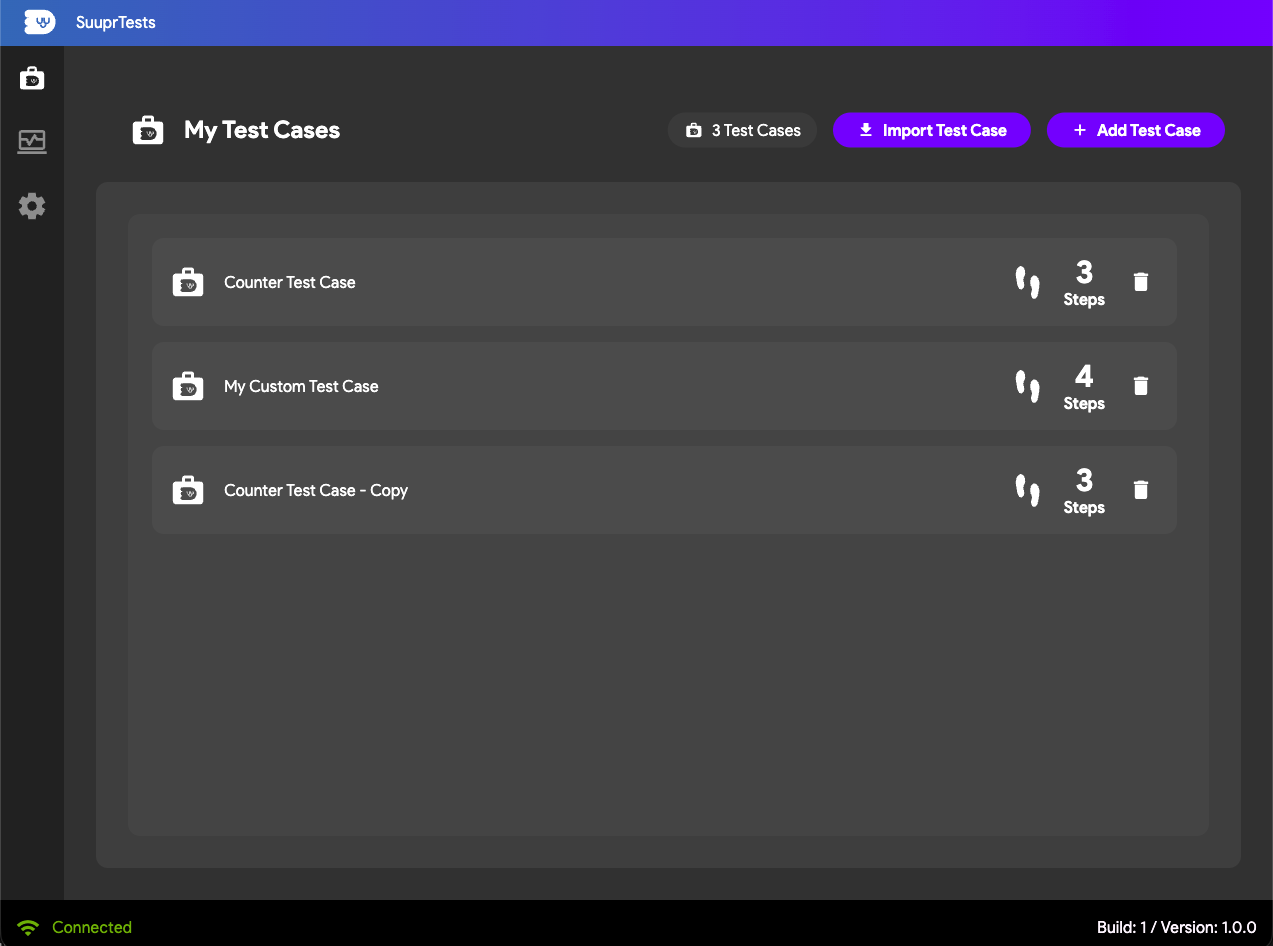
In the SuuprTests Dashboard UI, you can effortlessly create, manage, export, and import your Test Cases.
Adding a Test Case
To create a new Test Case cleanly separated from others:
- In the SuuprTests Dashboard UI, navigate to the Test Cases panel.
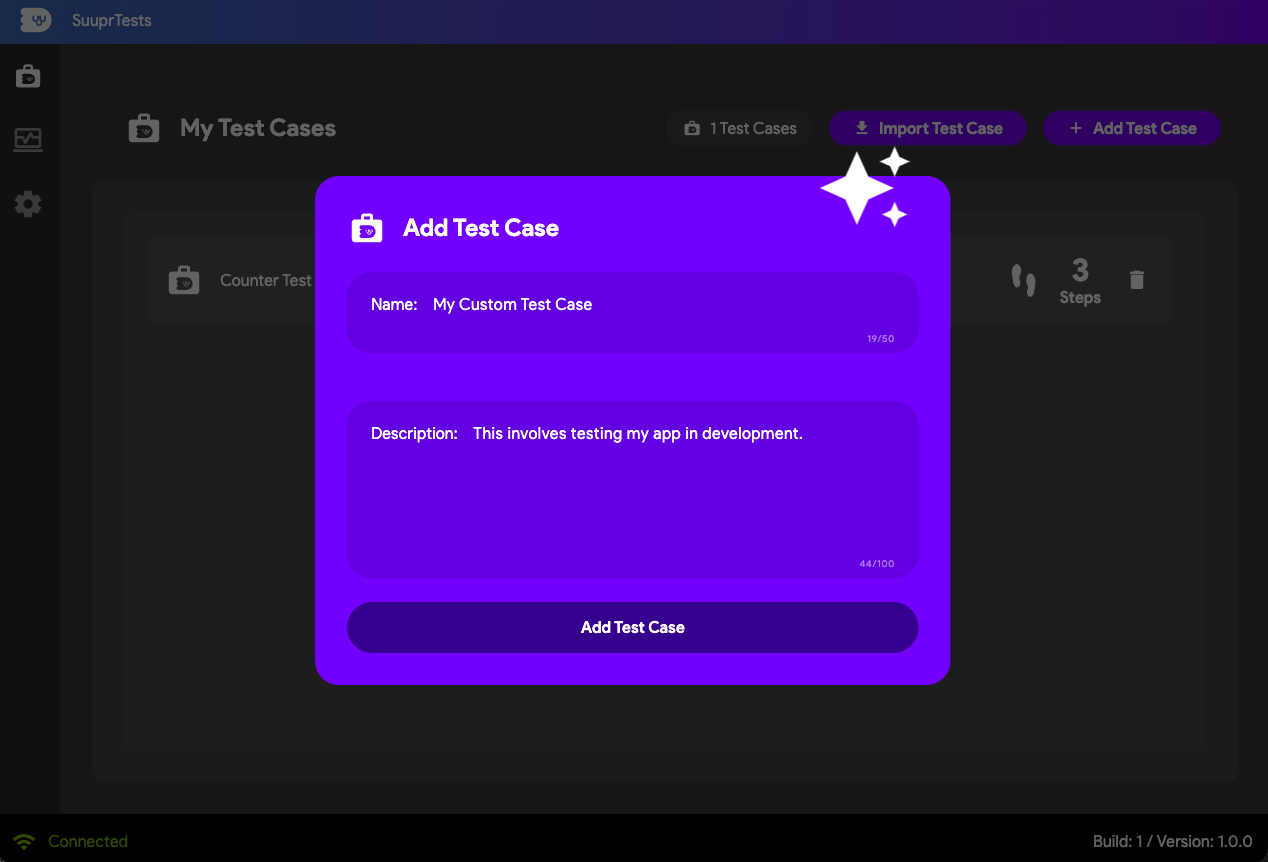
- Click on the action to add a new test case.
- Provide a clear and descriptive name for your test case (so you can easily identify it later when running it via the CLI).
- (Optional) Provide a description for your test case in order to know what the test case is about.
Deleting a Test Case
If a test case is no longer needed or is obsolete due to changes in your application's flow, you can remove it:
- Locate the test case you want to remove in your workspace.
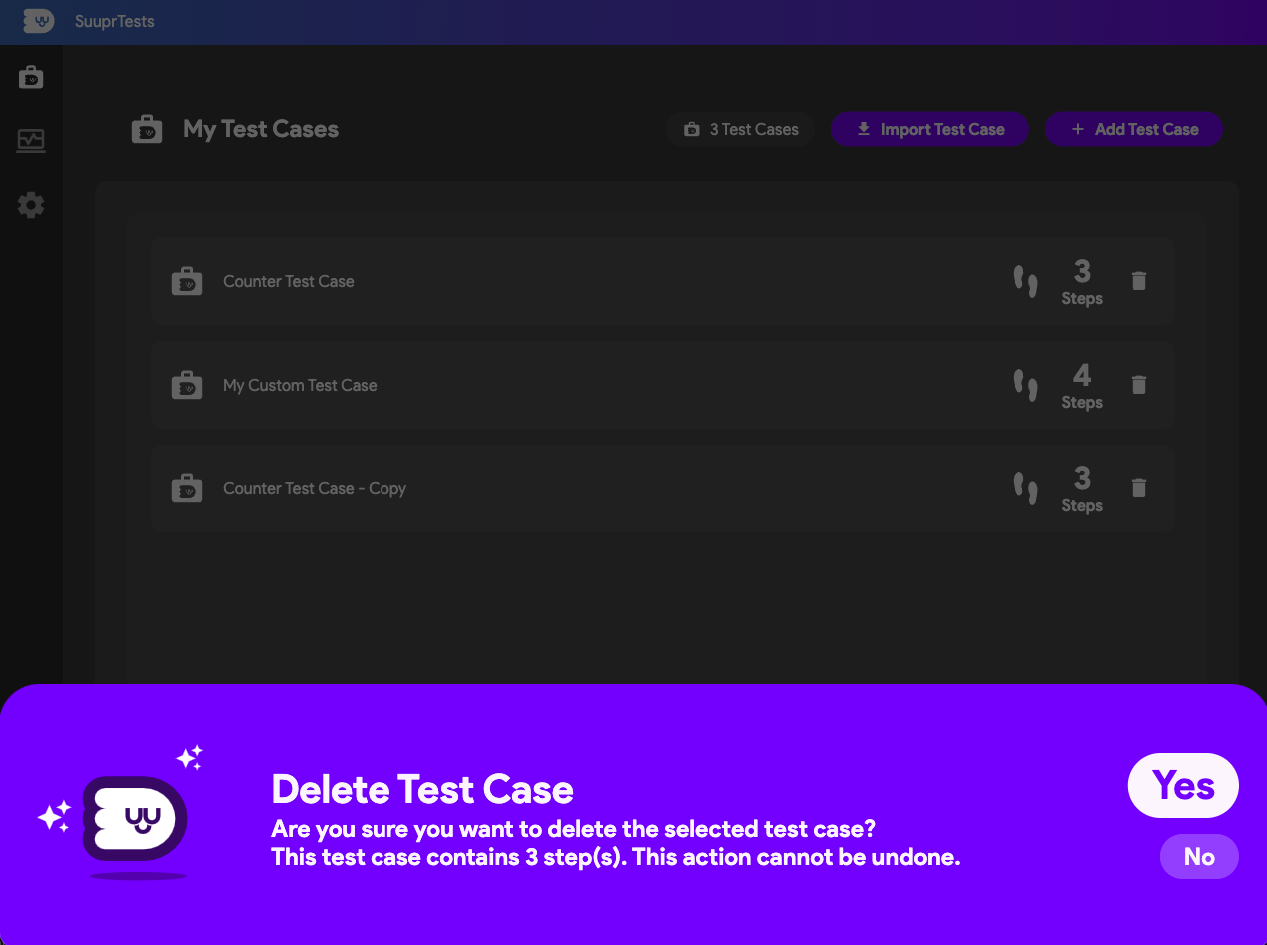
- Click the Delete icon (trash can icon) next to the test case name.
- Confirm the deletion to permanently remove the test case and all its associated steps.
Exporting a Test Case
Exporting a Test Case bundles its entire configured flow (all the steps and their configurations) into a standardized JSON file. This step is absolutely crucial for executing tests headlessly via the suupr_tests_cli in your continuous integration pipelines.
- Select the Test Case you have finished building.
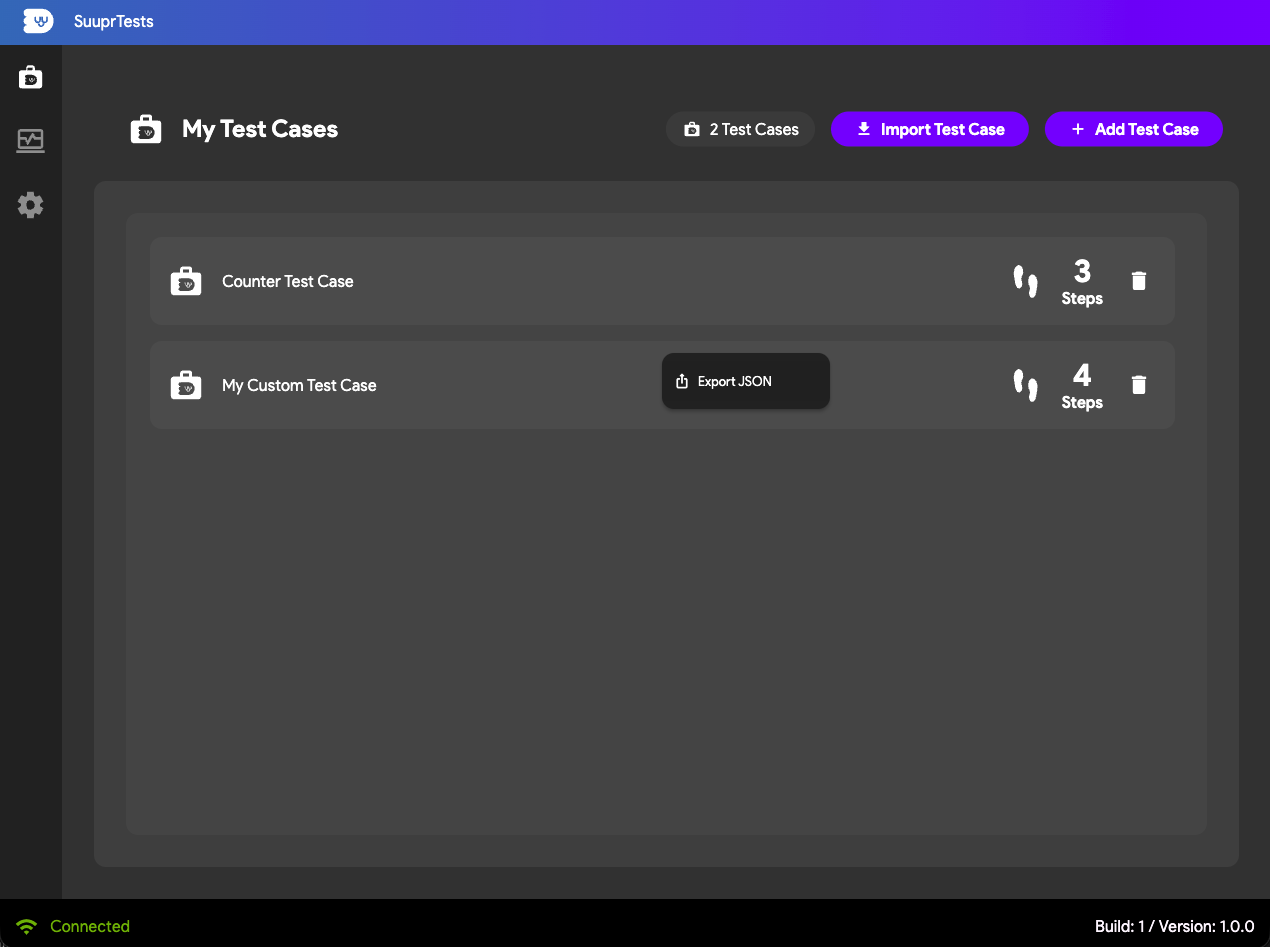
- Find the Export option for the test case.
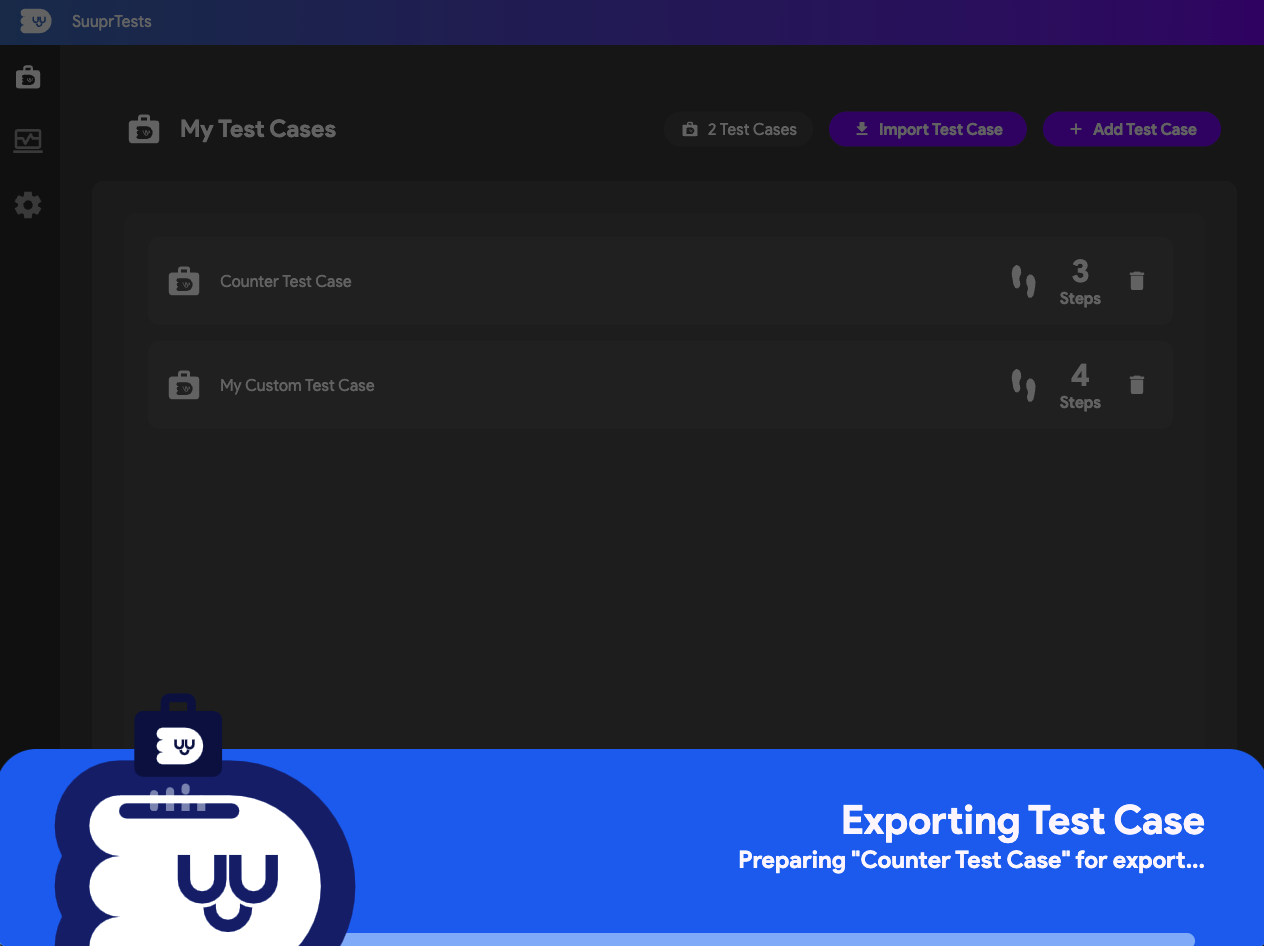
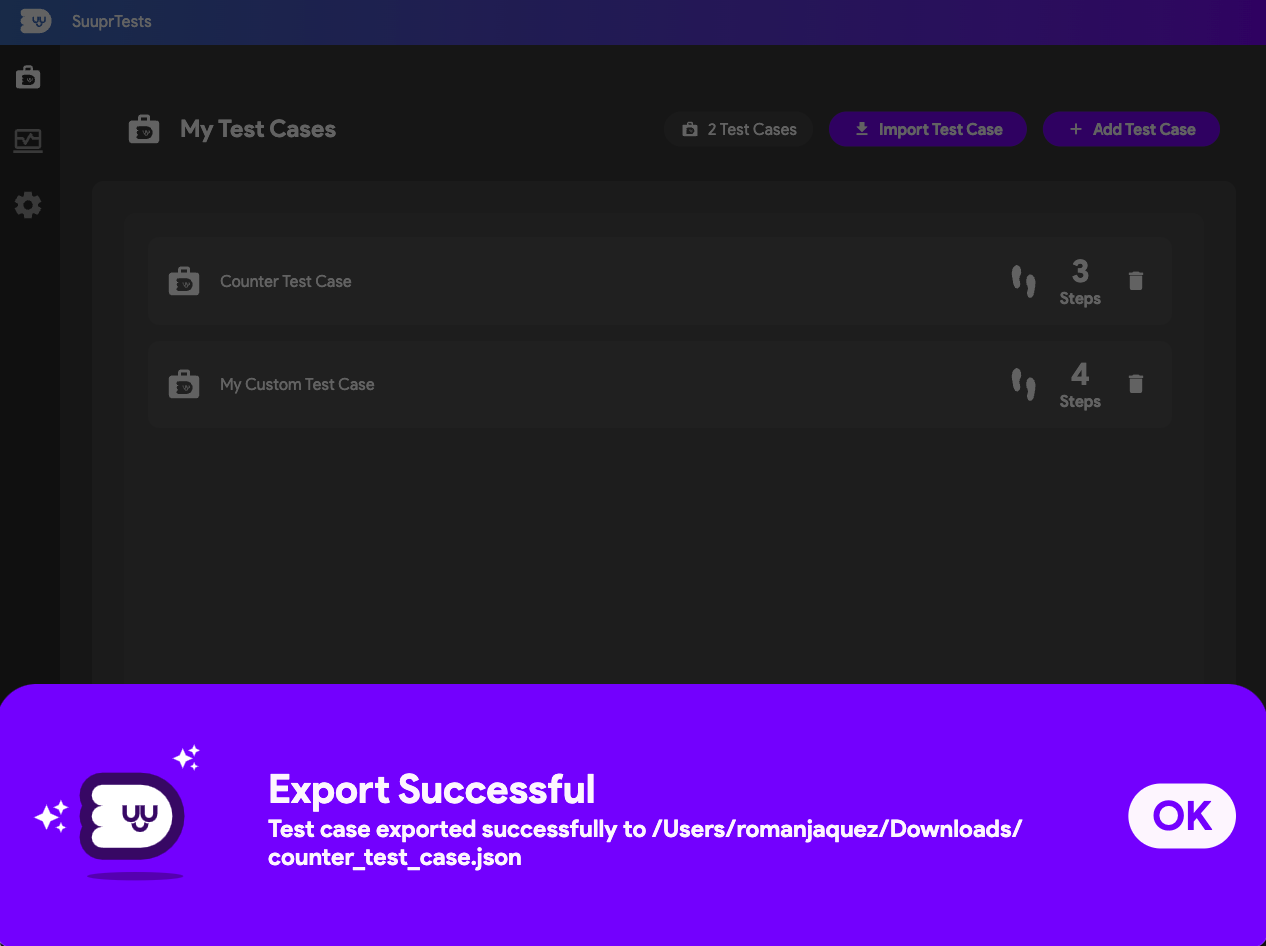
- Proceeding with the export will generate a
.jsonfile for your test case. Save this file to your source control repository (typically near your Flutter code) so your CLI and pipelines can readily access it.
Currently the suupr_tests_cli expects the test cases to be in the test_cases folder, under a subfolder called suuprtests.
Importing a Test Case
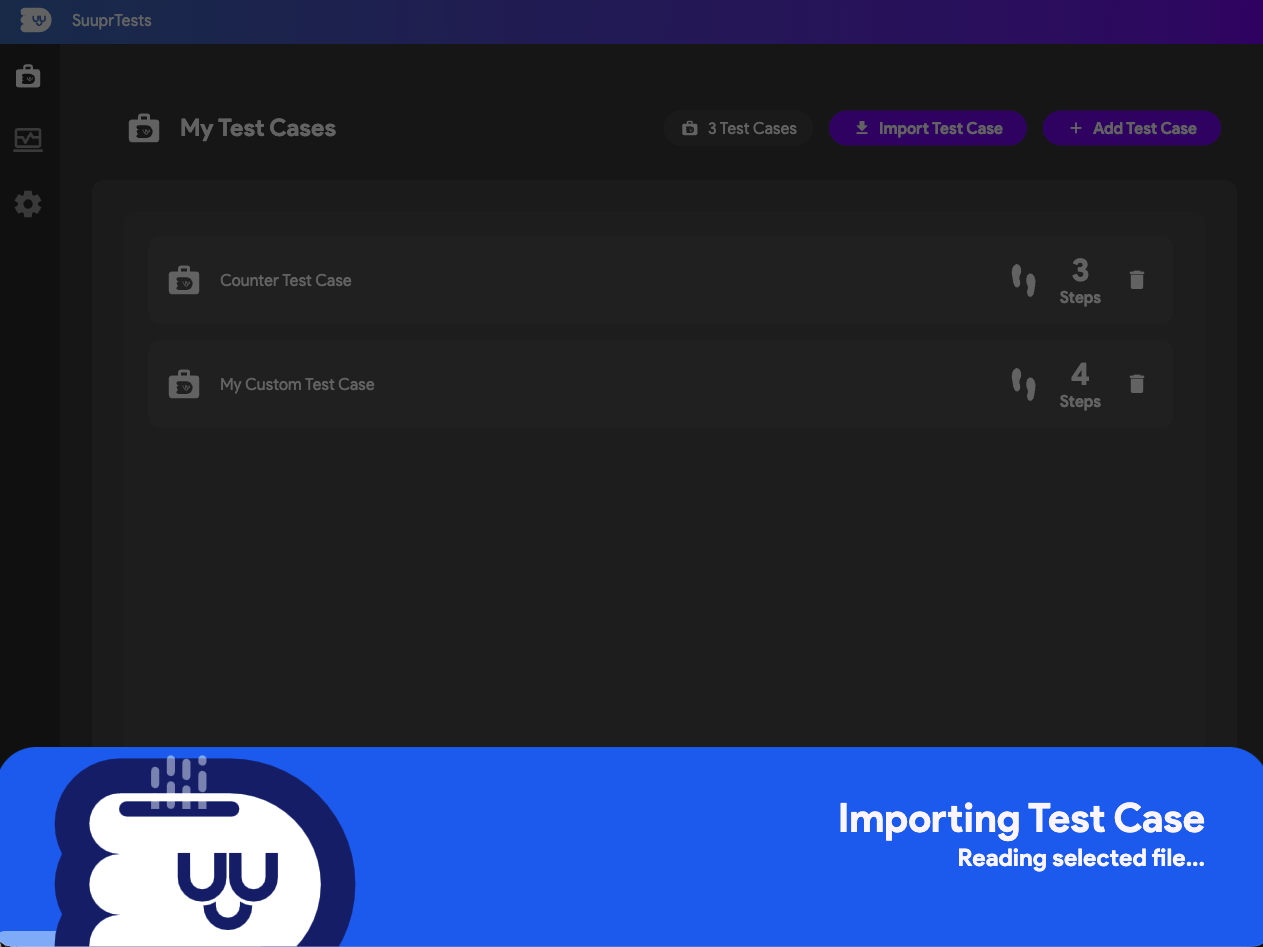
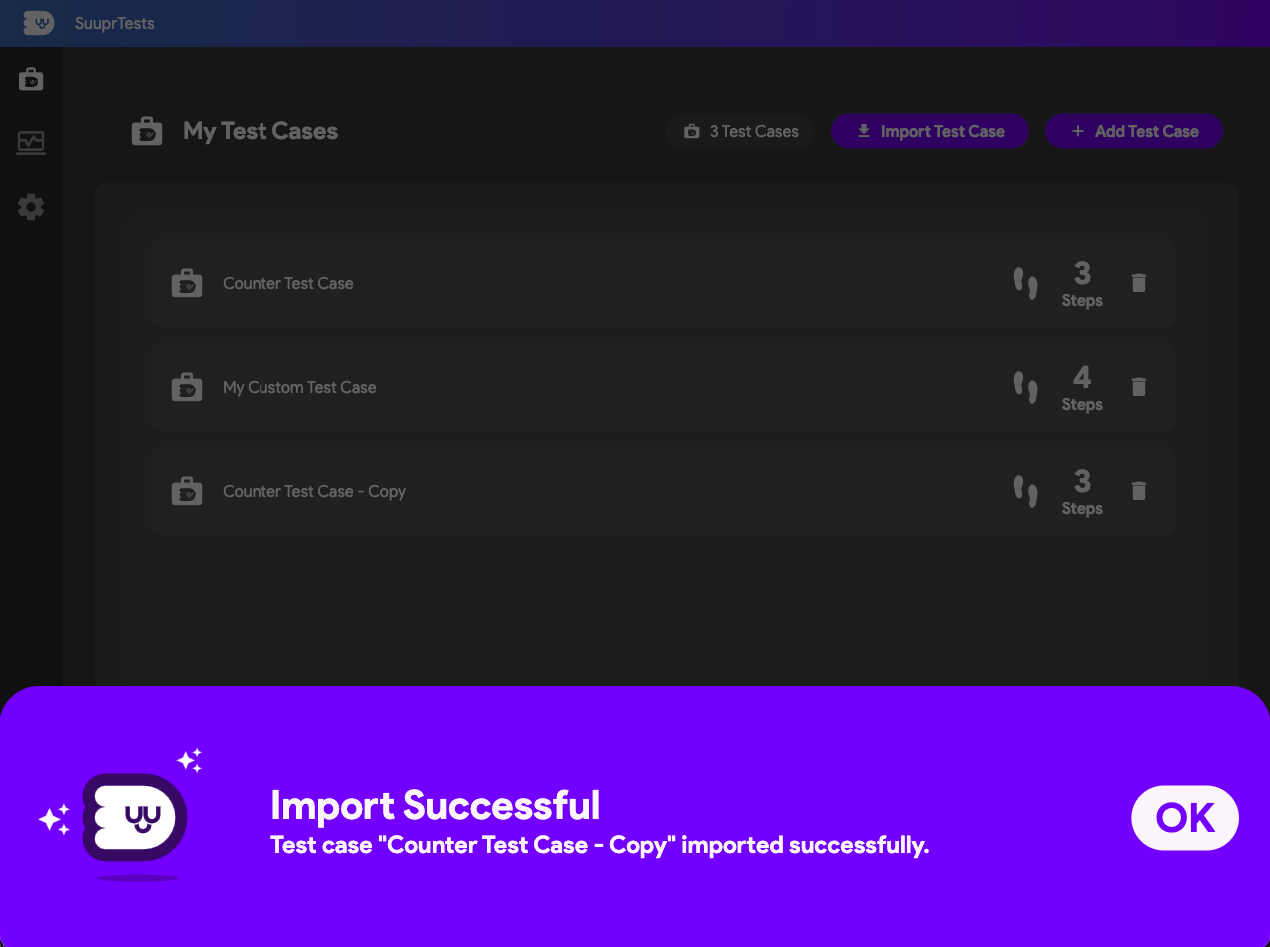
You can share your Test Cases with your team or move them between environments by importing a previously exported serialized JSON files back into the dashboard interface.
It is not advised to alter the JSON file structure manually after exporting it, otherwise it will not be successfully imported.
- Navigate to the import option in the SuuprTests UI.
- Select your previously exported
.jsonfile containing the test case. - Once imported, the test case—along with all its associated
Keysand Actions—will instantly populate your workspace, ready to be immediately edited or executed against your running device.