Running Test Steps
Once you have meticulously built out your Test Case with all the necessary Actions and Assertions, you're ready to run it! Performing a test run executes the predefined workflow inside your active Flutter application and validates its behavior in real-time.
Run Test Steps
You can kick off an entire sequence of orchestrated interactions directly from the SuuprTests Dashboard UI.
- Navigate to the specific Test Case you wish to execute.
- Locate the Run Test action button.
- Clicking this begins communicating explicitly with the
SuuprTestsBindinghooked up to your running Flutter application, streaming the steps to your app one by one.
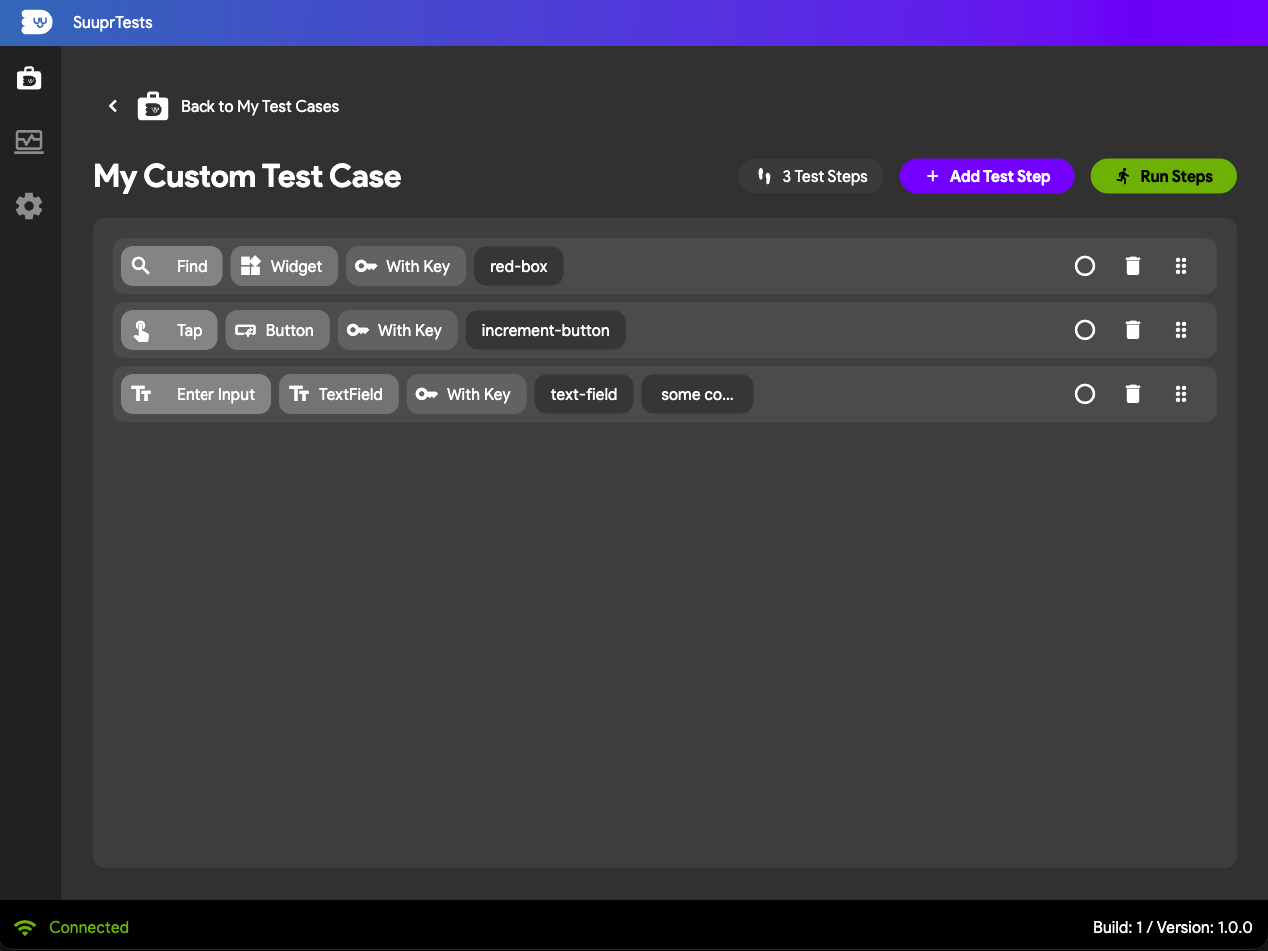
Running Test Steps inside a Test Case
Once the test execution kicks off, SuuprTests provides a live visual output to help you monitor the process.
As each step is dispatched, the admin interface visually indicates which exact step (e.g., FIND: Key('login_button')) is currently being evaluated. You will see real-time state updates as your Flutter app physically responds to the taps, string inputs, and scrolls. This dynamic feedback loop makes debugging significantly simpler, as you can correlate the active step in the admin directly to the physical state changing on your emulator or device.
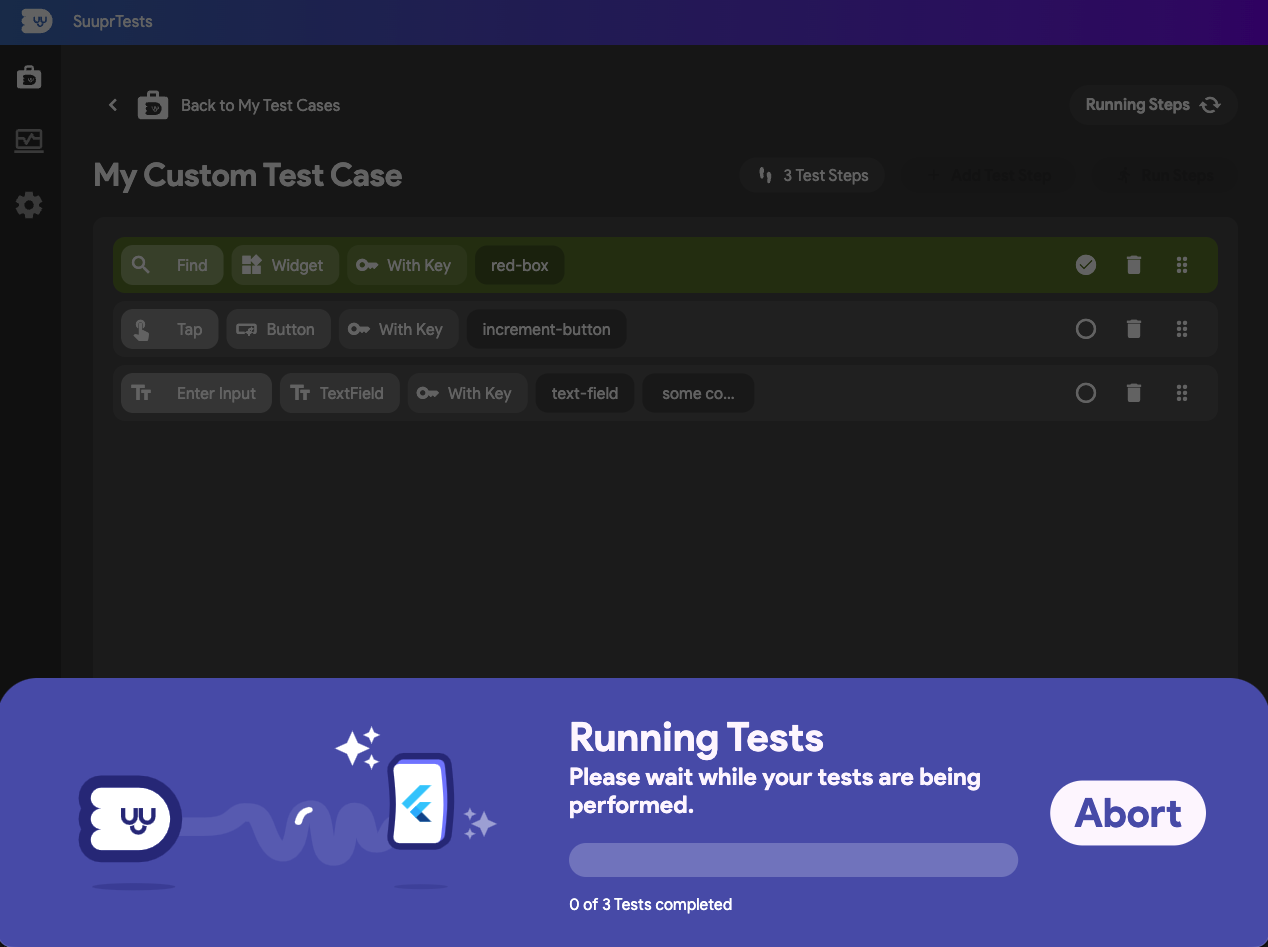
Completion of Run (Success)
When the test runner reaches the end of your configuration and every single VERIFY assertion validates correctly—and every target FIND widget resolves successfully—the test run is officially marked as passed.
The interface will display visual indicators (like a global success ribbon or green checkmarks) representing that the orchestrated workflow fired smoothly without any regressions, missing Keys, or blocking errors.
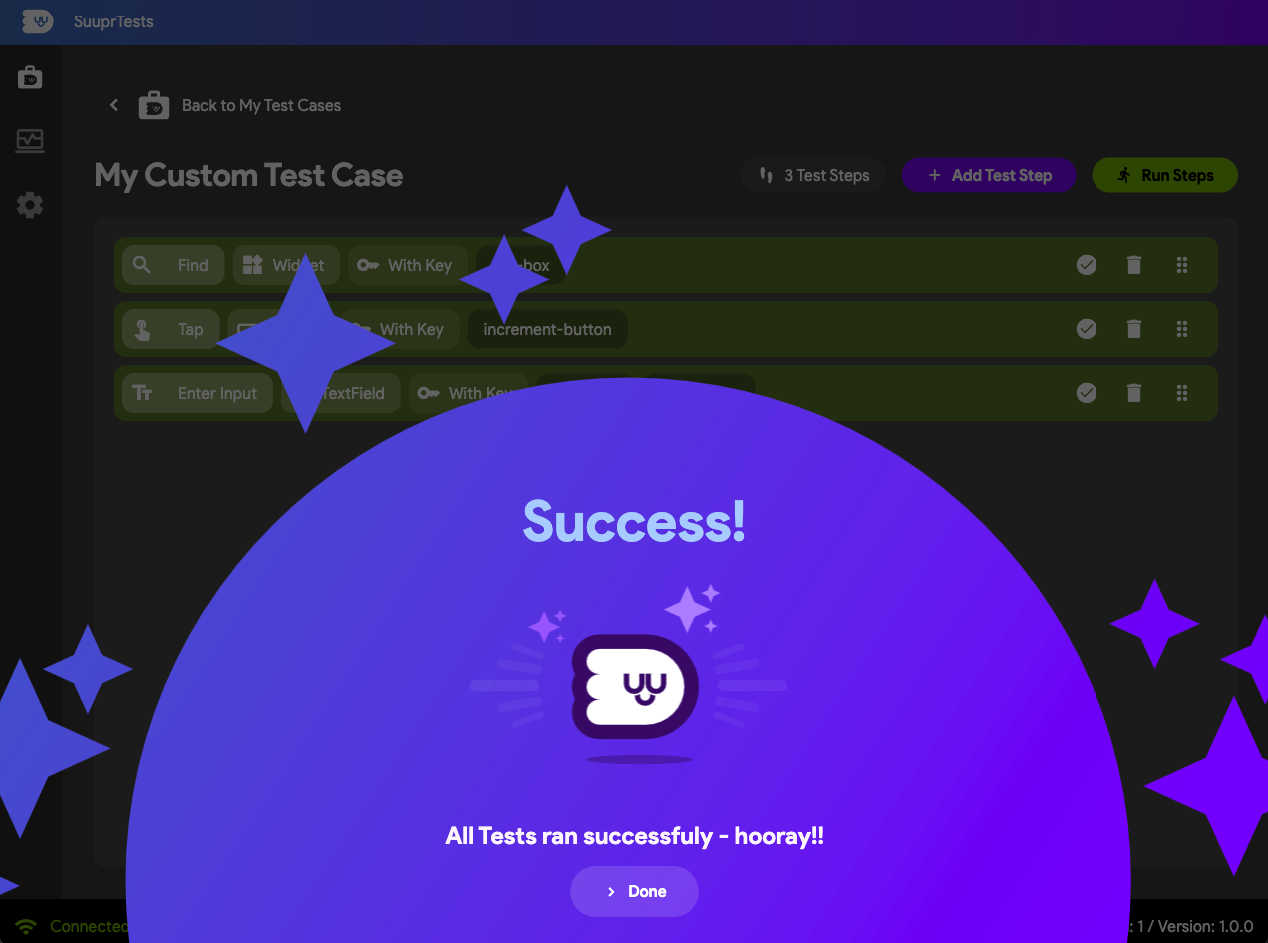
Failure during Run
Automated UI tests are explicitly designed to catch codebase regressions, so inevitably, steps will occasionally fail.
A step failure typically occurs if:
- A
FINDaction cannot locate the target widgetKey(e.g., the UI layout changed, or navigation stalled). - A
VERIFYassertion detects that actual visible text doesn't match your configured expected text. - The framework overstays execution timeouts while blindly waiting for elements to paint.
If any failure occurs, the runner immediately halts the execution pipeline. The specific step that caused the deviation will be distinctly highlighted (usually in red). This allows you to instantly pause what you're doing, look straight at your Flutter app's broken state, and easily trace what logic caused the interaction to stall.
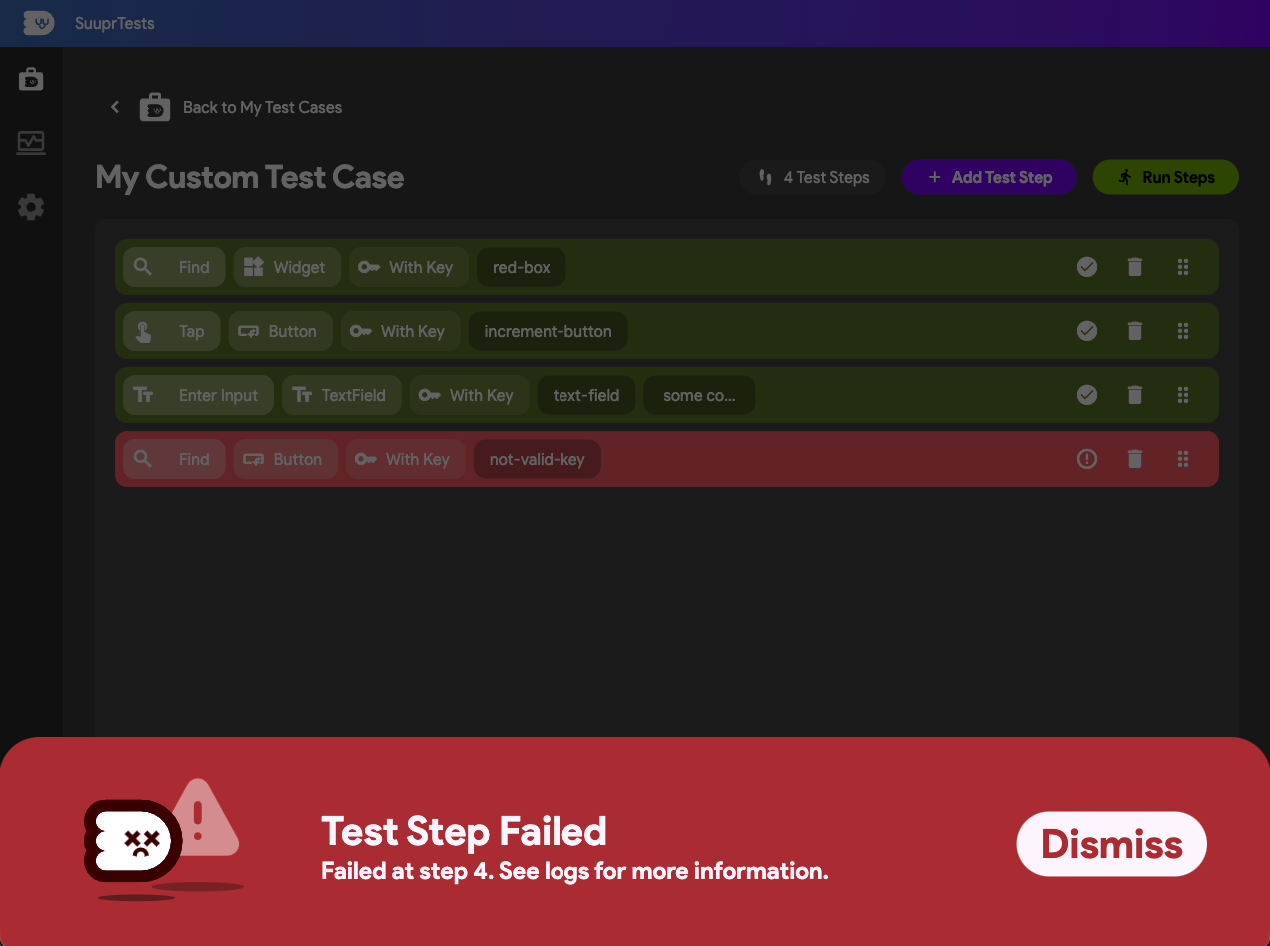
Aborting a Test Case Run
Sometimes you may encounter an unexpected behavior in your app, or you simply realize you've made a misconfiguration in your test halfway through execution.
To safely abort an active test run before it naturally completes or fails:
- Look for the Stop / Abort button on the active test execution panel.
- Clicking the abort action immediately kills the communication stream between the test runner and the Flutter application.
- The runner ceases executing any further steps in the queue.
Once aborted, the UI runner resets, allowing you to edit the steps, fix your application state, and restart the run cleanly from the beginning.